

Starting from vCenter 7.0, vCenter will be only appliance based and no options for integrating with any external database
This article focuses on migrating 6.5 Windows vCenter with external PSC to 7.0 vCenter Server
The steps are more or less same for migrating 6.7 windows to 7.0 vCenter Server
What is deprecated in vCenter 7.0:
- External PSC
- Windows based vCenter
- No inclusion of flash based Web client
Who can upgrade:
| Source vCenter (Appliance or Windows) | Destination vCenter | Upgrade/Migrate |
| vCenter 5.5 & 6.0 (any version) | vCenter 7.0 | Not Supported |
| vCenter 6.5 & 6.7 (any version) | vCenter 7.0 | Supported |
Click here to check the vCenter Server version upgrade compatibility
Click here to get update sequence for vSphere 7.0
Licensing:
For vSphere 7.0, the existing license needs to be upgraded and you can contact VMware licensing team for upgrade options specific to your existing license.
Click here to learn more about licensing requirement for vCenter Server 7.0
Click here to download the latest version of vCenter 7.0
What you require:
- A jump box, preferably windows 10 or any windows server 2008/20212/2016
- It is advised to keep the jump box and the destination vCenter 7.0 on the same subnet, same port group/VLAN as the source vCenter appliance that you are planning to upgrade
Most of the network related errors during the upgrade phase can be eliminated with this simple step.
- User has access to windows based external PSC and vCenter
- Make sure you have taken complete backup of the vCenter database
A quick summary of actions we will be performing for this migration process:
The migration task is split into stage 1 and stage 2.
Stage 1
– Deploy a new 7.0 vCenter VM with active network connection set to communicate via the temporary IP addressStage 2
– The installer exports the data from the existing 6.5 vCenter to the new 7.0 vCenter using temporary IP.
– Performs convergence, shuts down source vCenter and reverts the network back to the same IP as the source vCenter.
– vCenter 7.0 services are started, import of the copied data is initiated within the appliance before completing the setup
Steps with Screenshot :
Stage 1
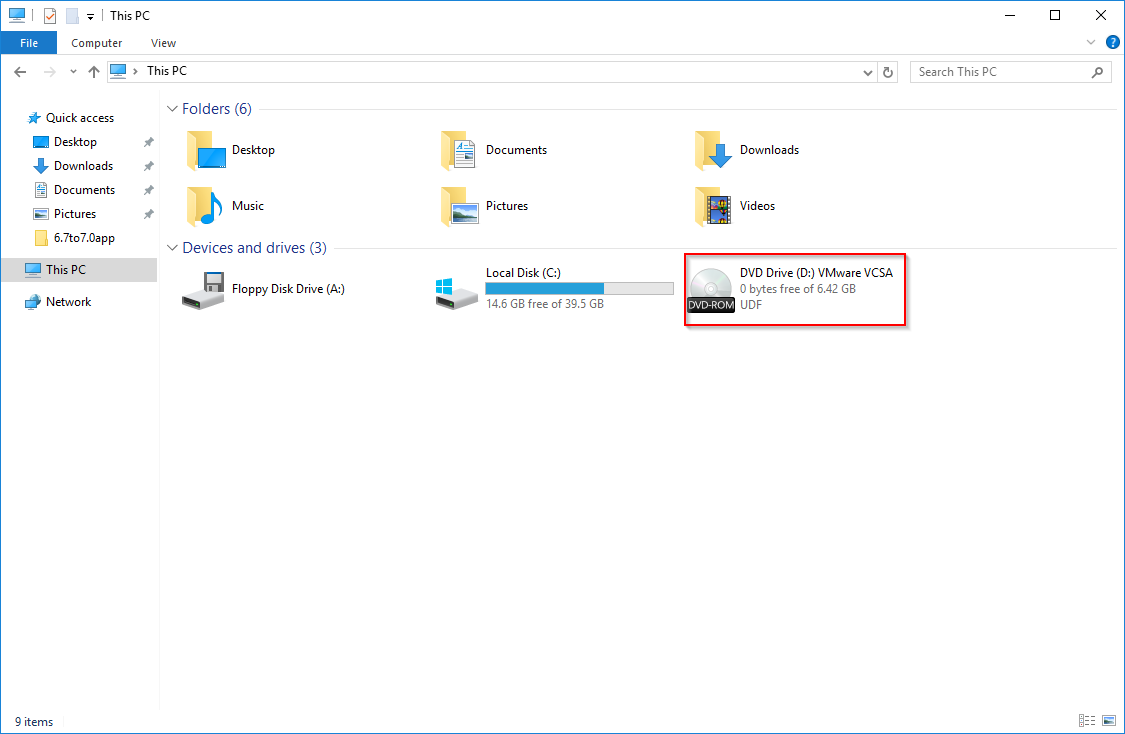
Proceed to mount the downloaded image on the jump box
___________________________________________________________________________________________
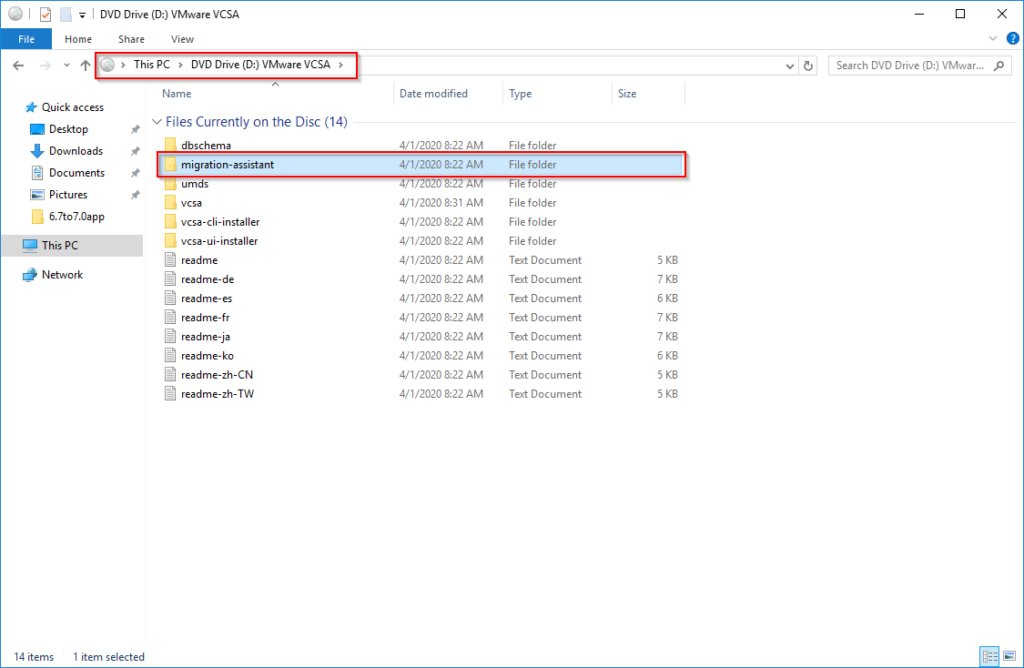
Inside the mounted directory, copy the “migration-assistant” folder
Log into the source windows vCenter server and paste the “migration-assistant” folder
___________________________________________________________________________________________
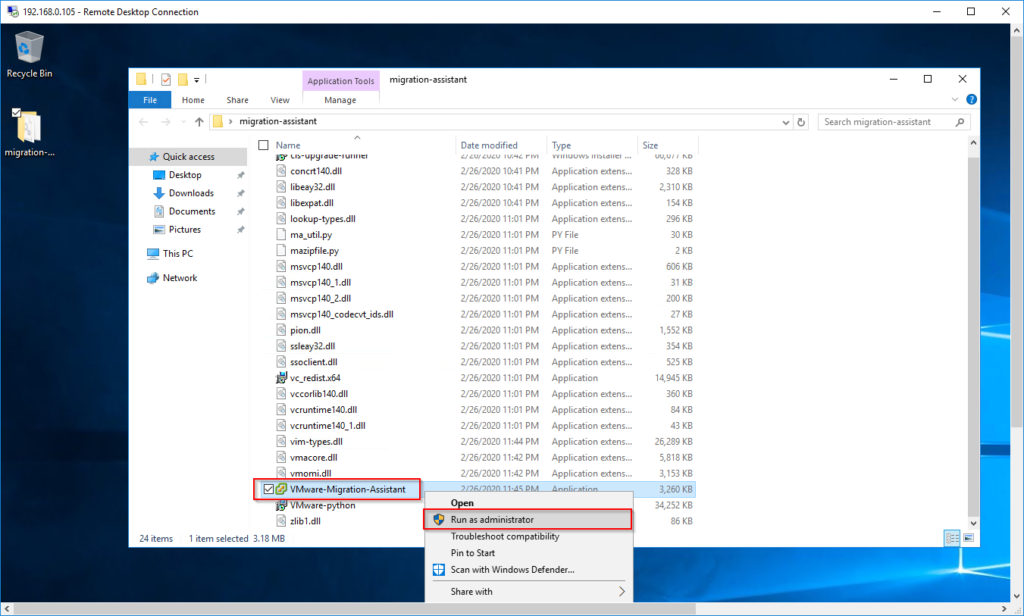
<On the source 6.5 windows vCenter>
Navigate to the folder and Run the migration assistant as Administrator
___________________________________________________________________________________________
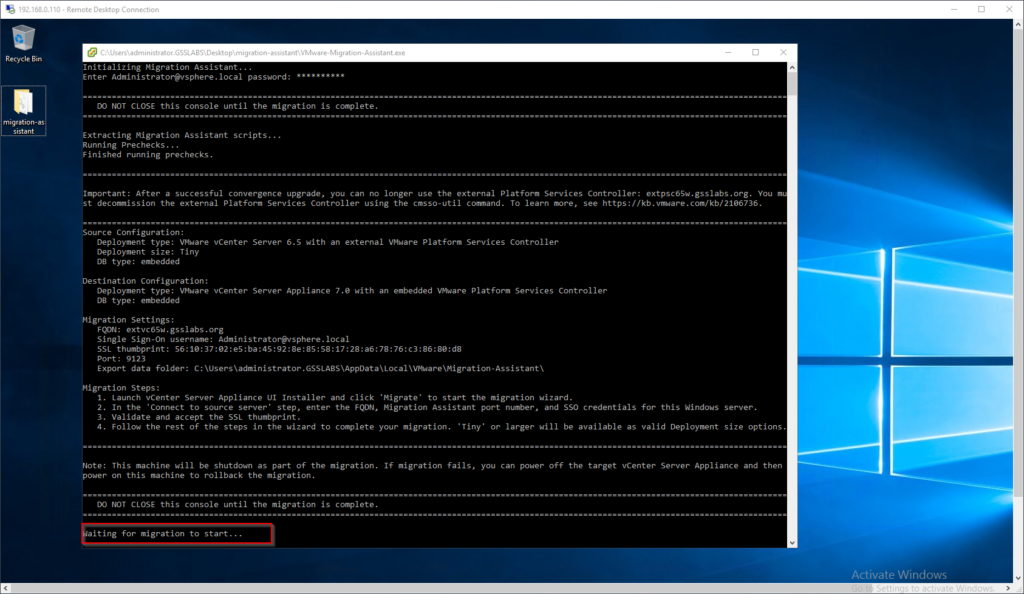
Enter the SSO password and wait for the installer to perform pre-checks and shows prompt “waiting for migration to start”
DO NOT CLOSE THIS WINDOW – KEEP IT RUNNING
___________________________________________________________________________________________
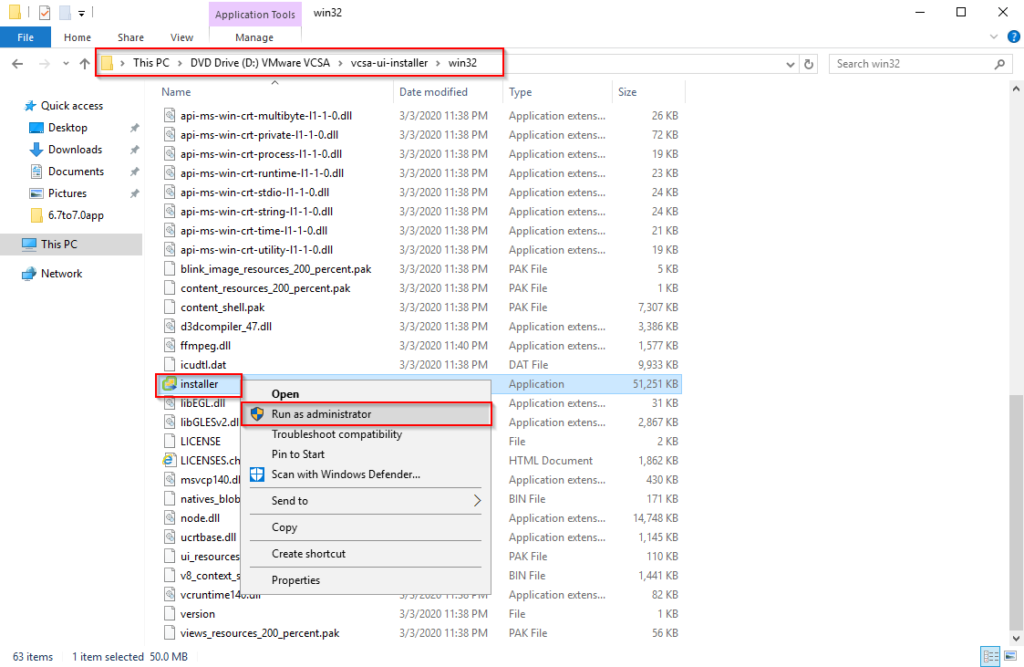
<Login back to the Jump Box where you have mounted the installer ISO>
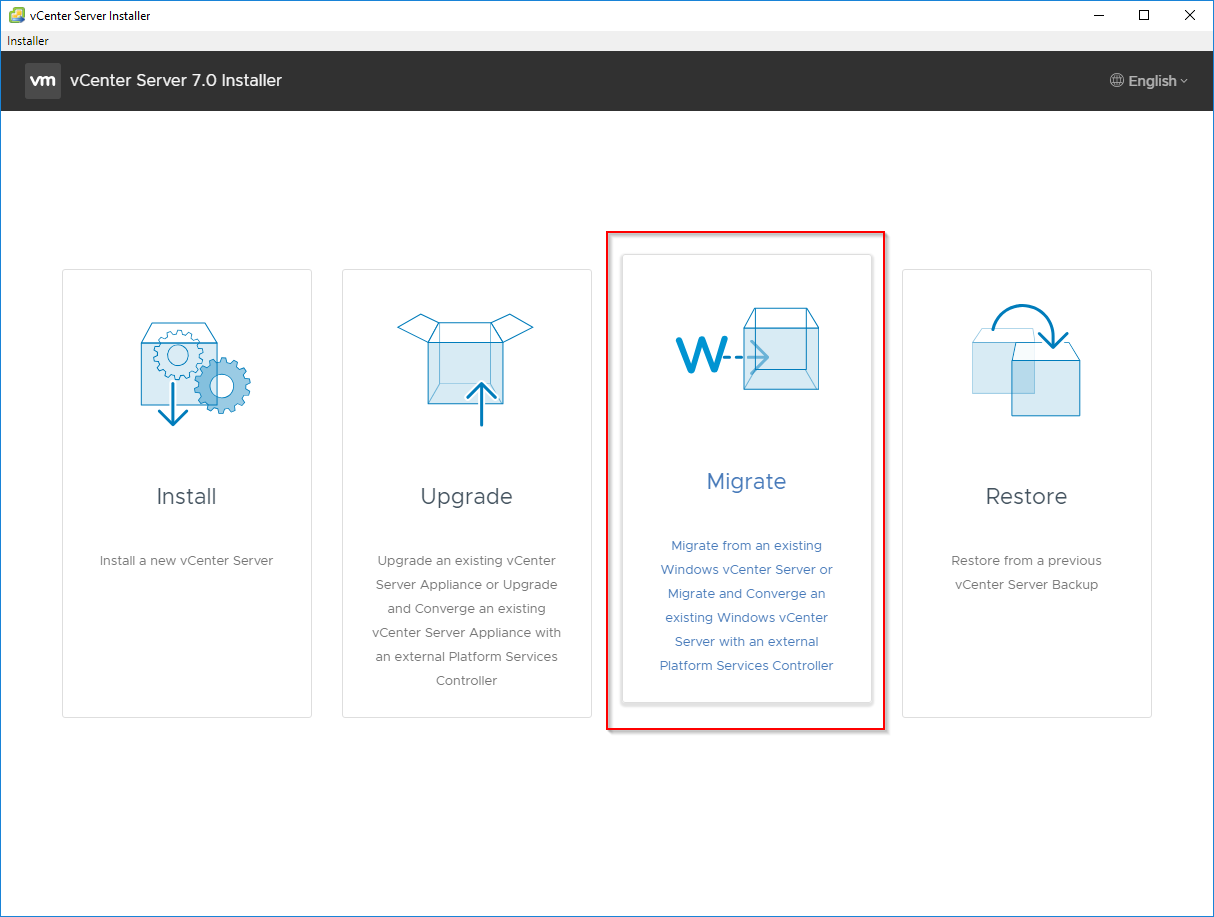
Navigate to the following directory and run the installer as Administrator and Select “Migrate”
___________________________________________________________________________________________
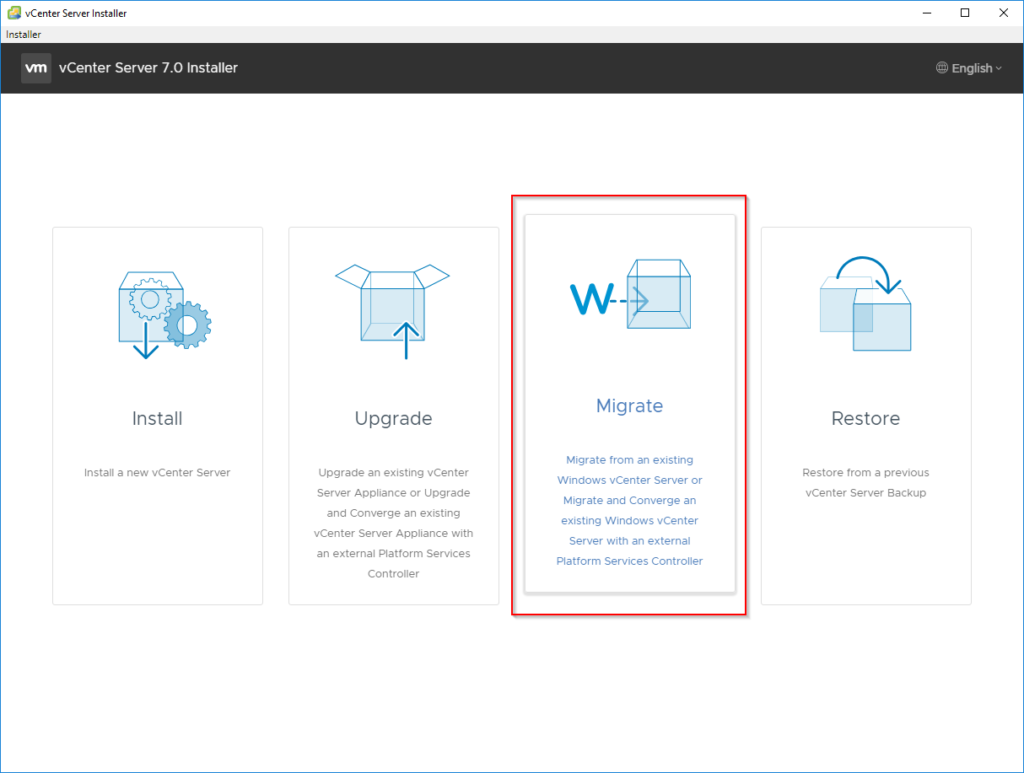
Click on the Migration button
___________________________________________________________________________________________

Once the installer starts, on the Introduction page, we have a quick recap of the two stage process which we had discussed earlier
___________________________________________________________________________________________
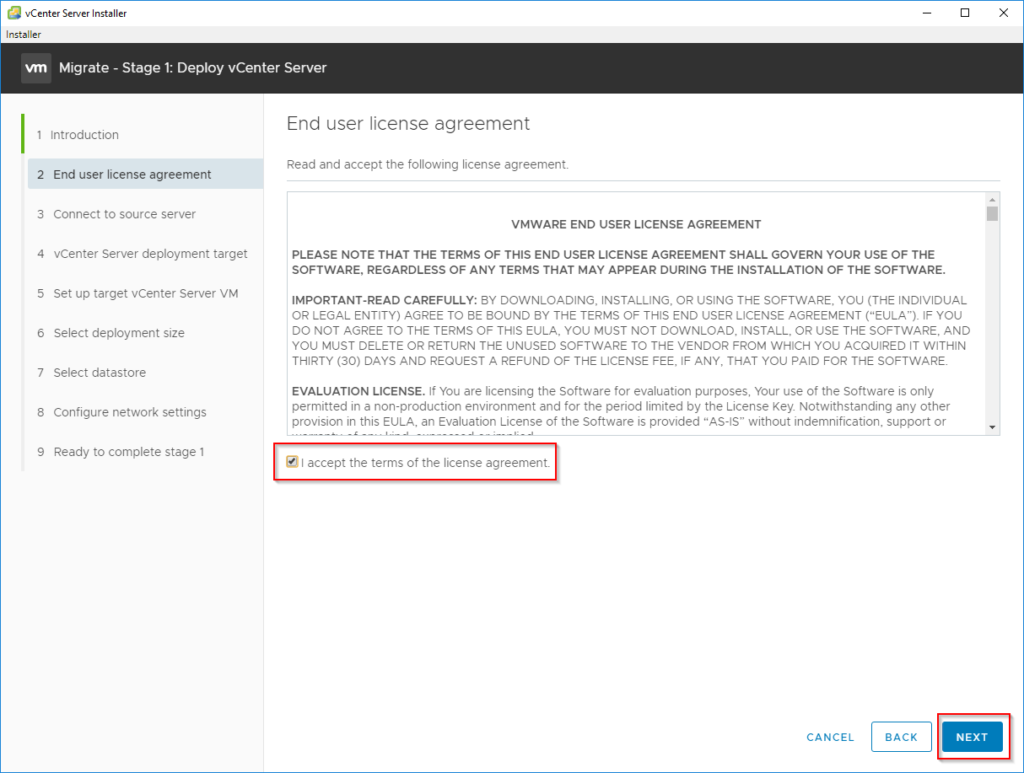
Click “Next” and accept the EULA (End User License Agreement)
___________________________________________________________________________________________
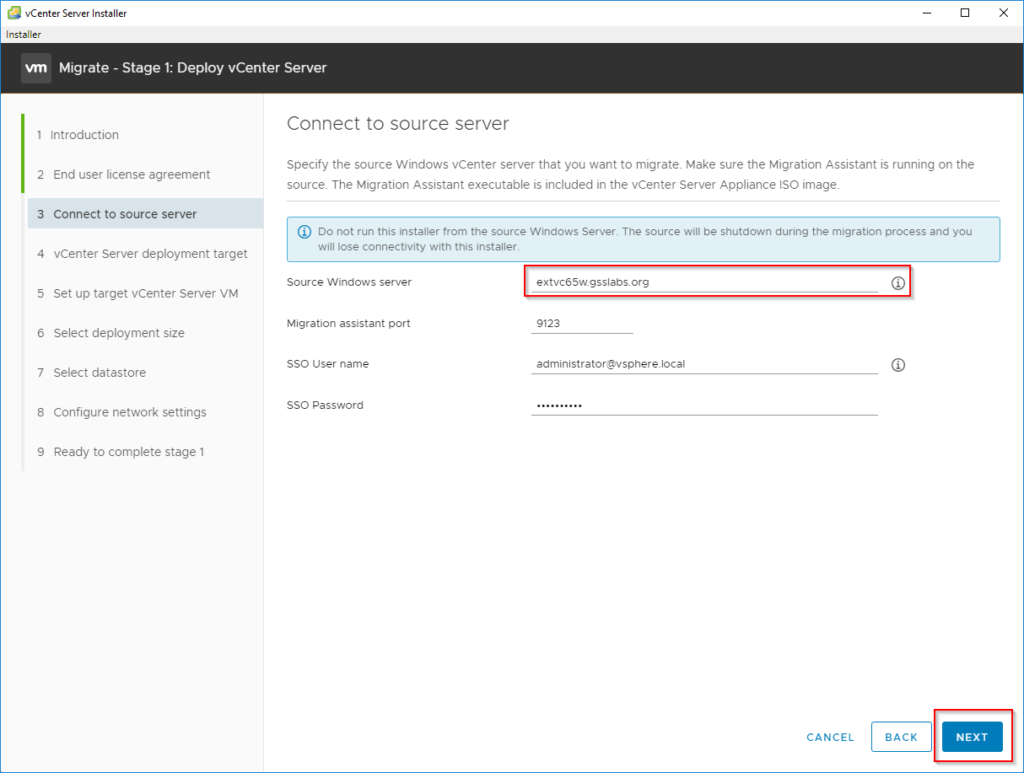
Here you need to enter the FQDN of the source vCenter server
Also your local SSO administrator username and the password and click “Next”
(Make sure to correct the domain vsphere.local in case if you have set a different local SSO domain)
___________________________________________________________________________________________
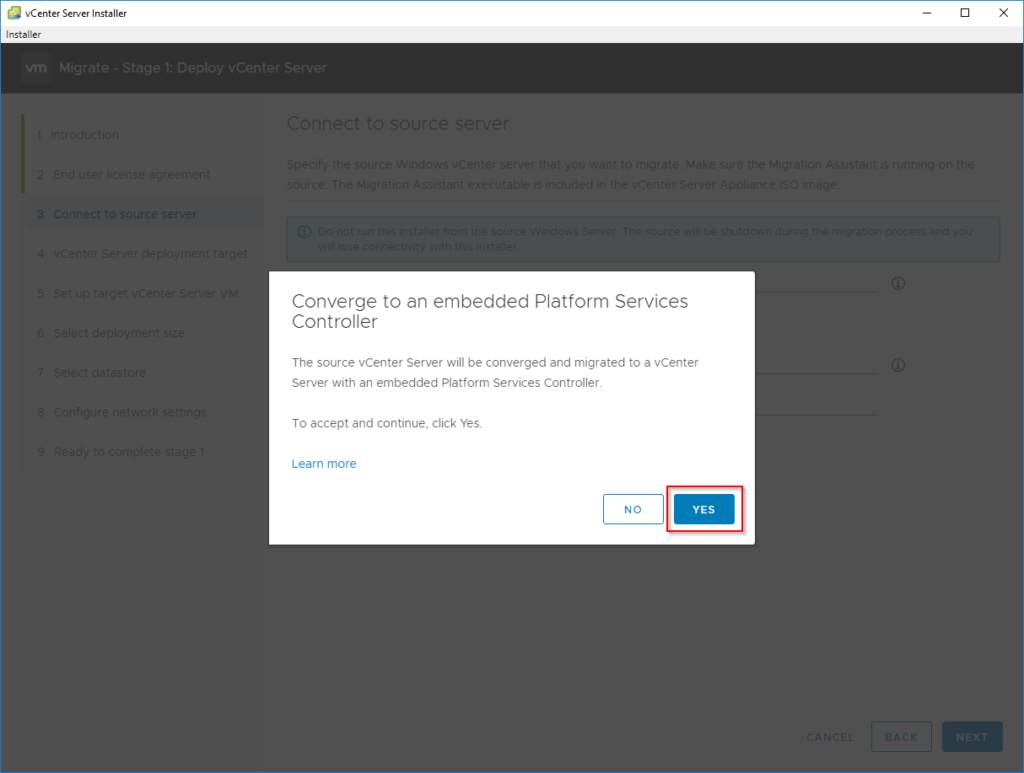
The installer gives prompt “Converge to an embedded Platform Services Controller”
This is to let users know that it has read the underlying vCenter configuration.
It automatically detects that the source vCenter has external SSO and will perform a converge operation during Migration. Facinating ! Isn’t it
___________________________________________________________________________________________
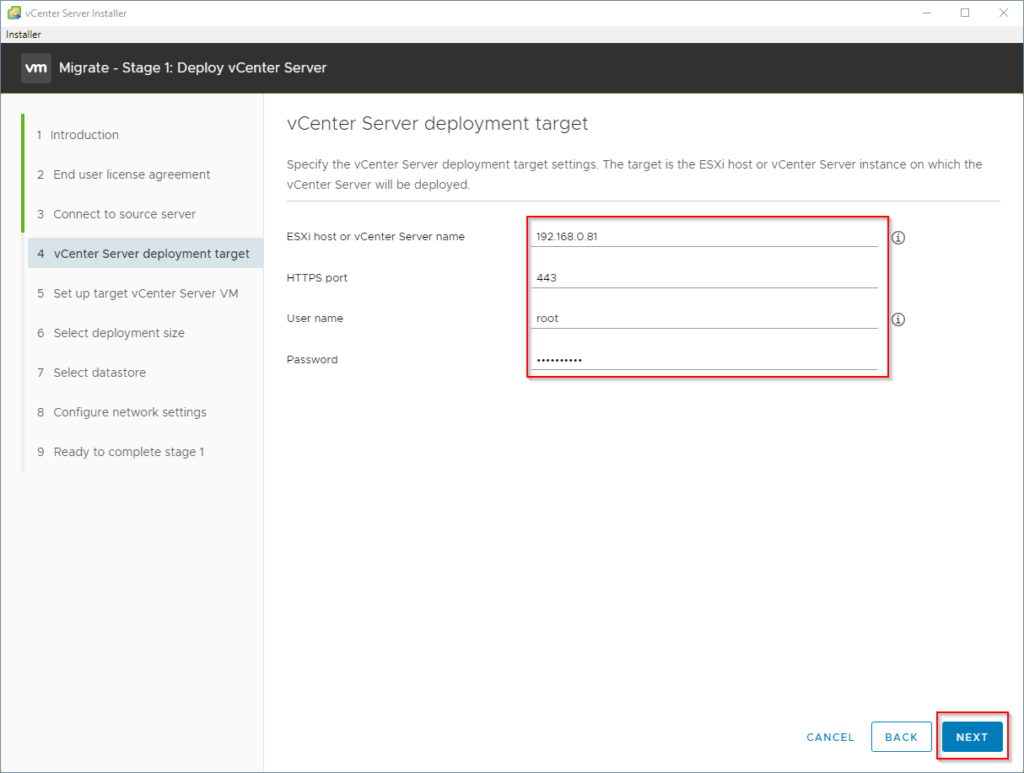
Enter the host/vcenter name or IP on which the new 7.0 VM is going to get deployed
Since I have set the host IP address, I have set the username as root
If you had entered vCenter name, you should be entering the SSO admin user which is administrator@vsphere.local
___________________________________________________________________________________________

The VM name is the name on which the new VM will be deployed on the inventory
Also here you are given option to set the root password for the 7.0 vCenter
___________________________________________________________________________________________
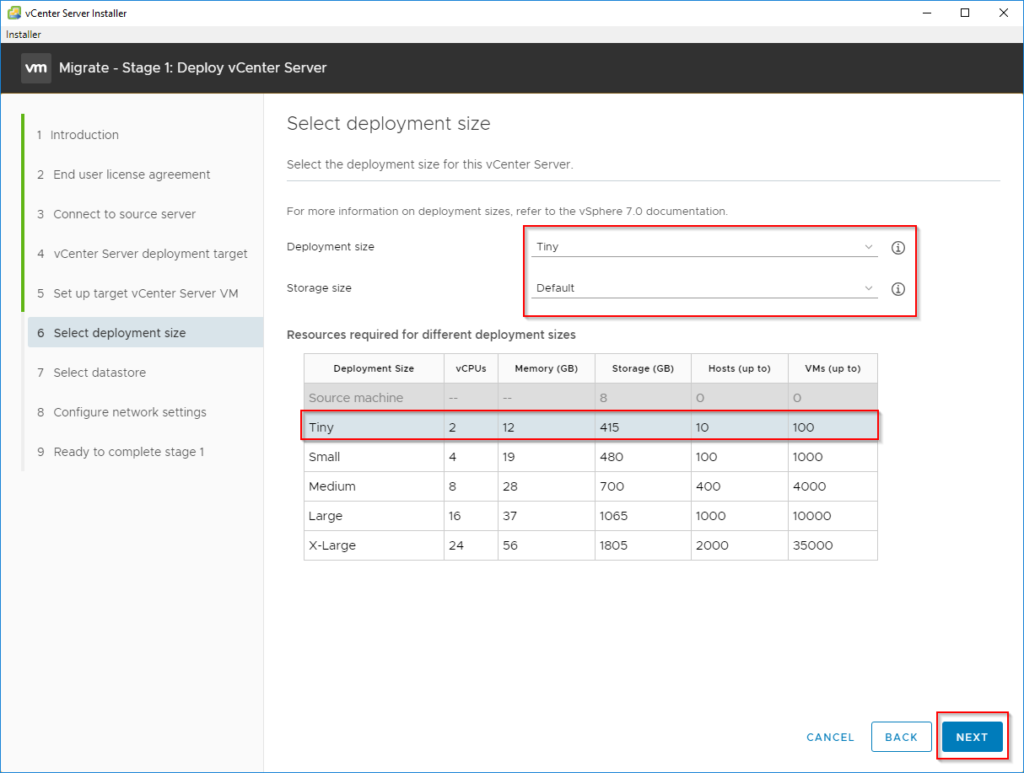
Set the appliance deployment size based on your environmental requirement
You can refer the table in the above screenshot to size it accordingly
___________________________________________________________________________________________

You select the Datastore where the new VM will be deployed
___________________________________________________________________________________________
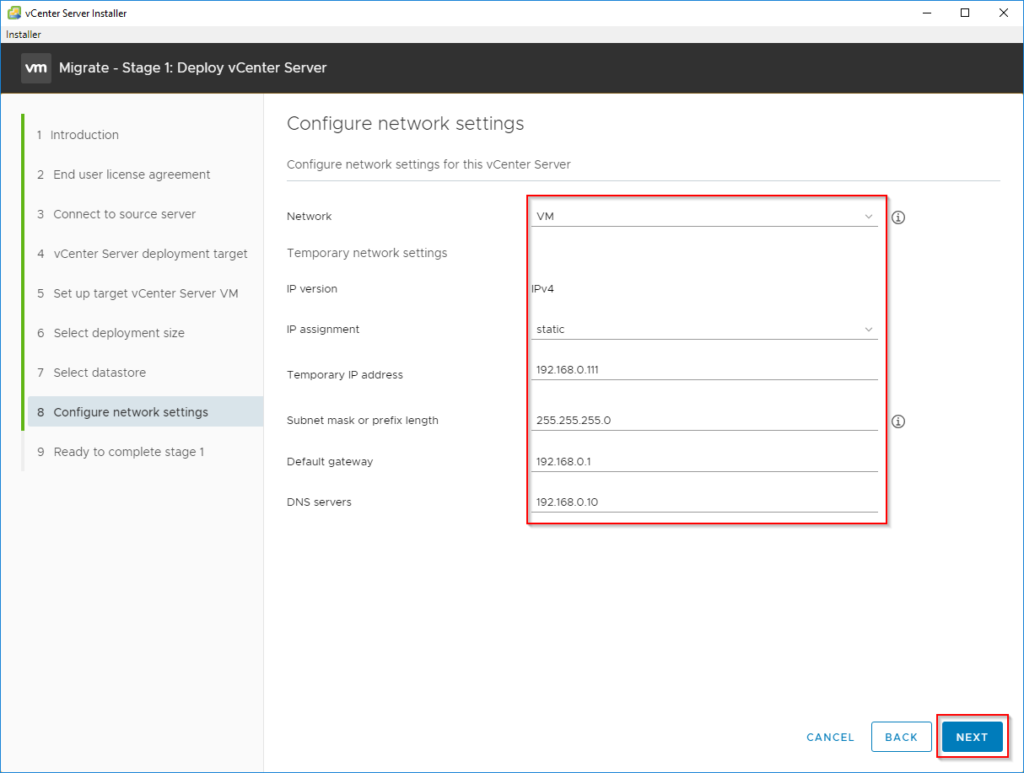
It is advised you select the same port-group where the source vCenter VM resides
Provide the temporary IP address, subnet, gateway and DNS server
All these steps are mandatory and cannot be skipped
___________________________________________________________________________________________
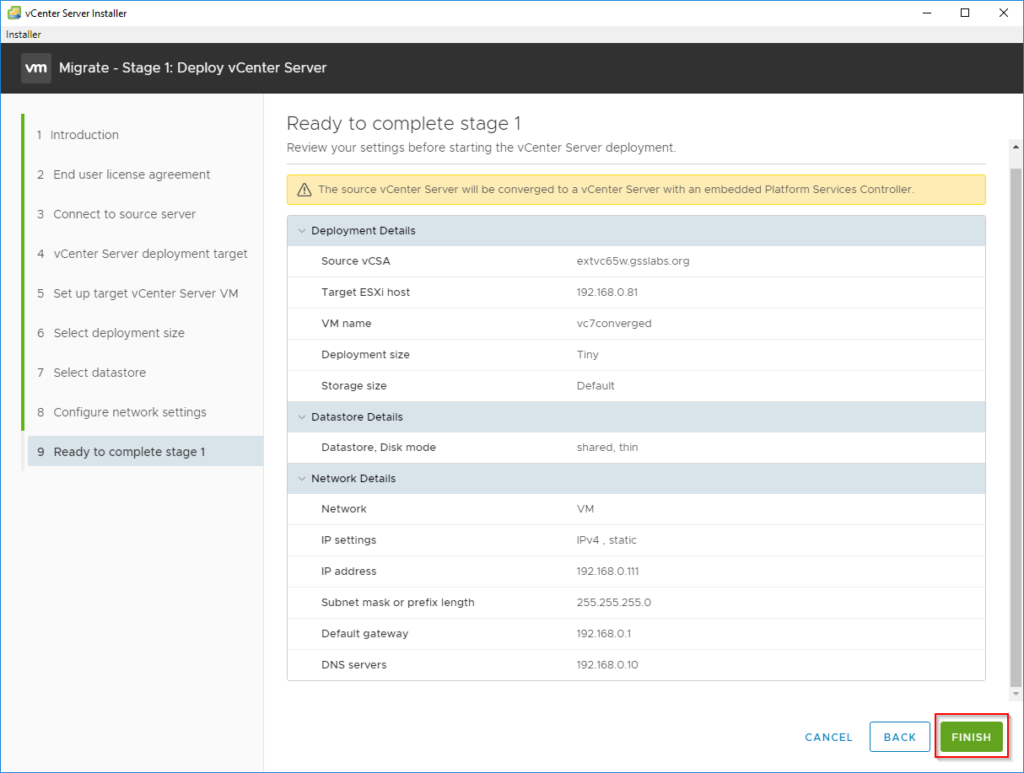
You are given one final view of all the network settings provided
Once confirming the details, click on Finish to start Stage1 deployment
___________________________________________________________________________________________
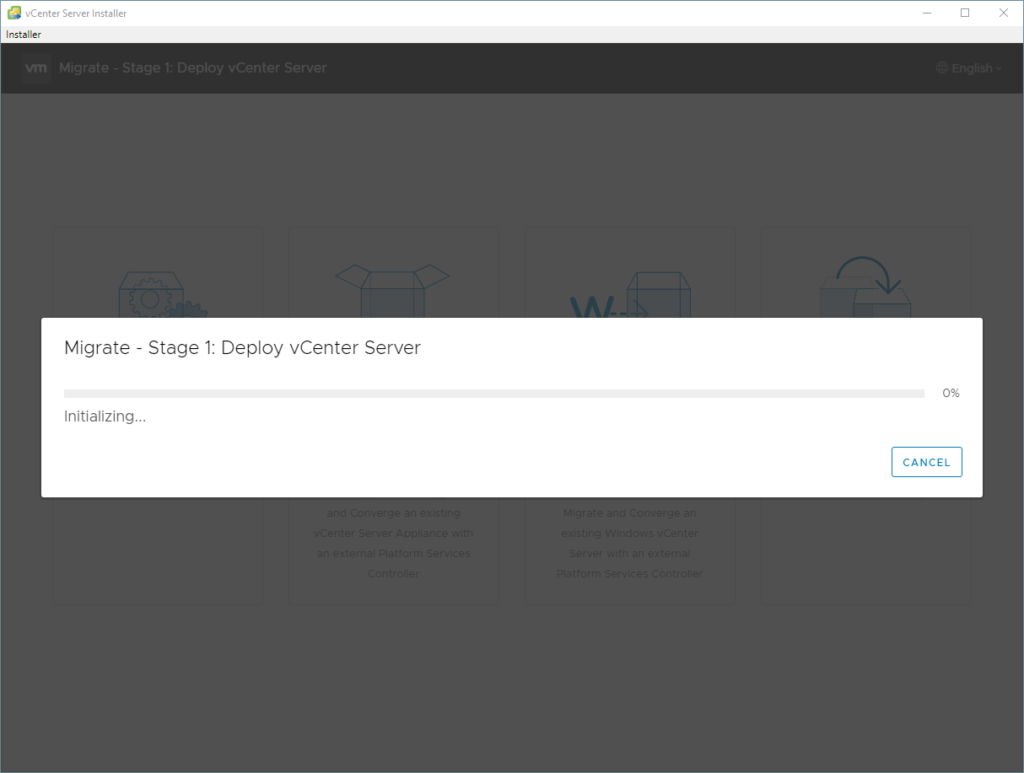
The deployment of the new vCenter 7.0 VM starts
You can check its progress by logging into the ESXi host and check the tasks pane
The installer might freeze at 80% but do not panic as this is common
At 80% is where it installs the RPM packages for the appliance
___________________________________________________________________________________________
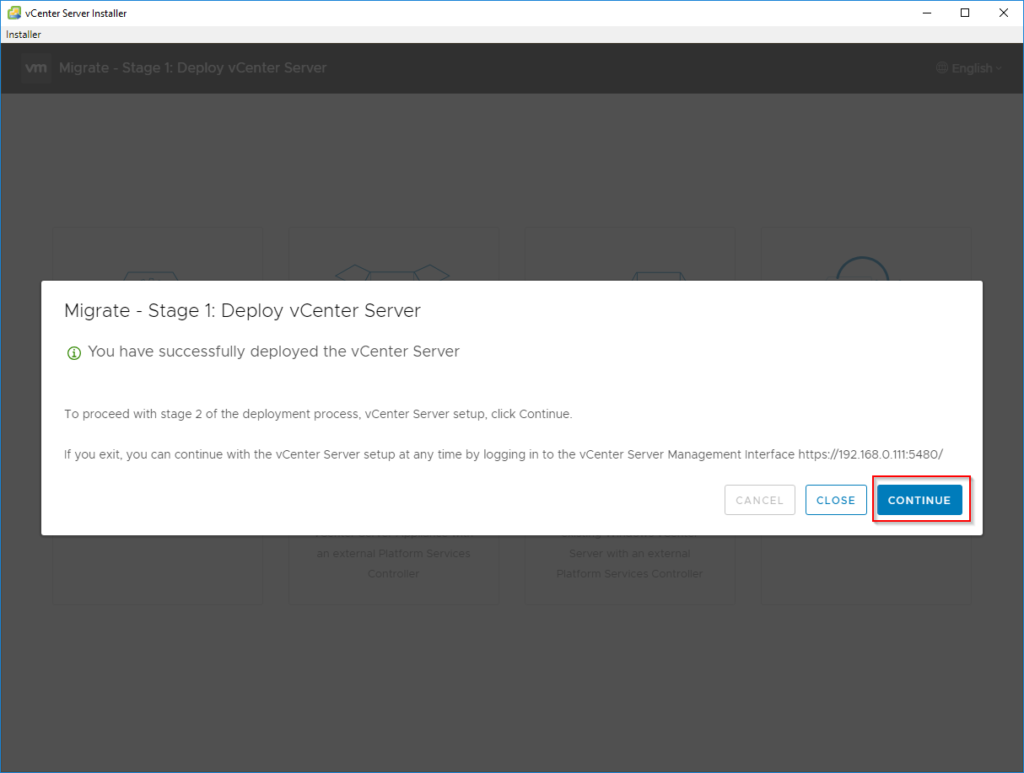
Once completed, you should see the screen as above
___________________________________________________________________________________________
At this point, it is advised to take a snapshot of the newly deployed vCenter 7.0 appliance
If by any chance if the installer fails, you can revert back to the end of Stage1 installation and retry the upgrade again
To restart the upgrade from this point, you just simply enter the temporary IP address with port 5480
Example: If my temporary IP is 192.168.0.111
Then I restart the upgrade process from browser https://192.168.0.111:5480
___________________________________________________________________________________________
Stage 2
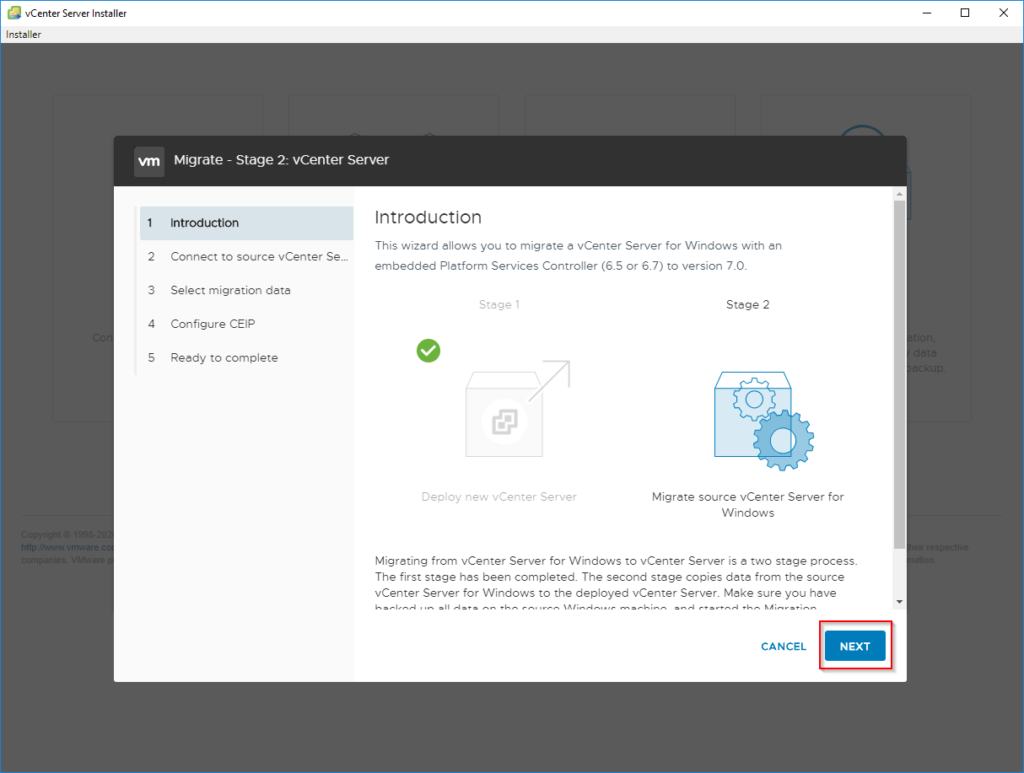
Click continue to go to Stage 2 Introduction page where the process is explained
Click “Next” to take you to the “Connect to source vCenter” page
___________________________________________________________________________________________
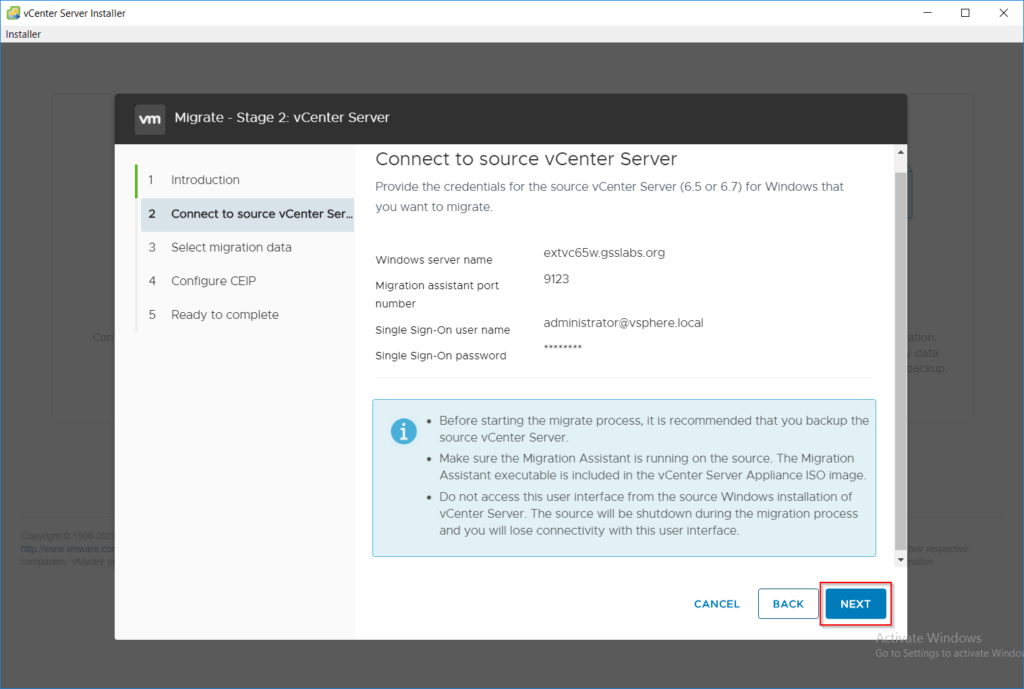
The installer detects the existing vCenter details which were provided earlier
Click “Next” to run the pre-migration checks for Stage 2
___________________________________________________________________________________________
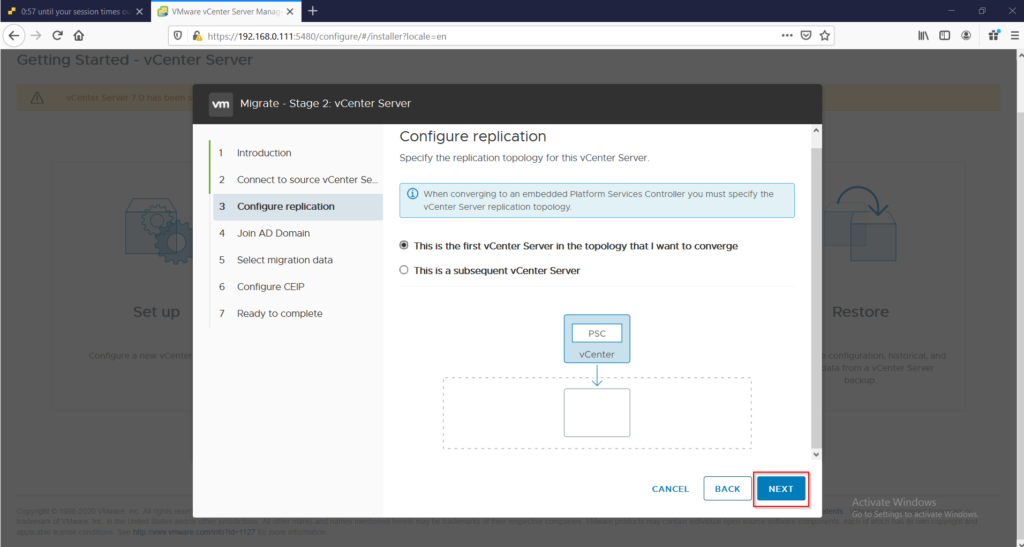
This is the new option introduced
You can select the default option in case if you have single PSC and vCenter like we used in this guide
___________________________________________________________________________________________
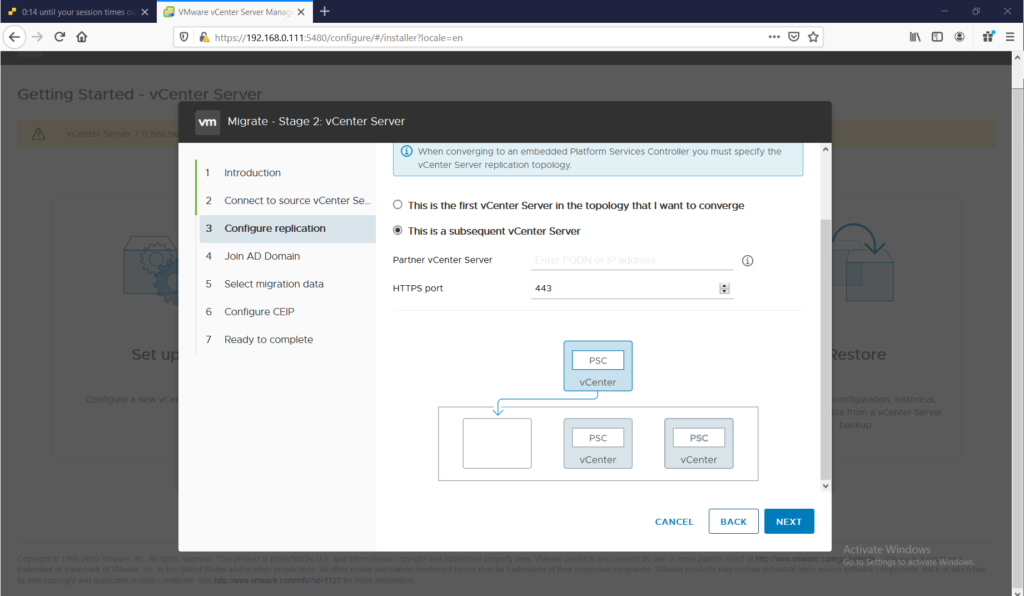
Optional – Only for reference purpose
This is how you can select to manage convergence in case if the PSC has multiple vCenter registered
___________________________________________________________________________________________
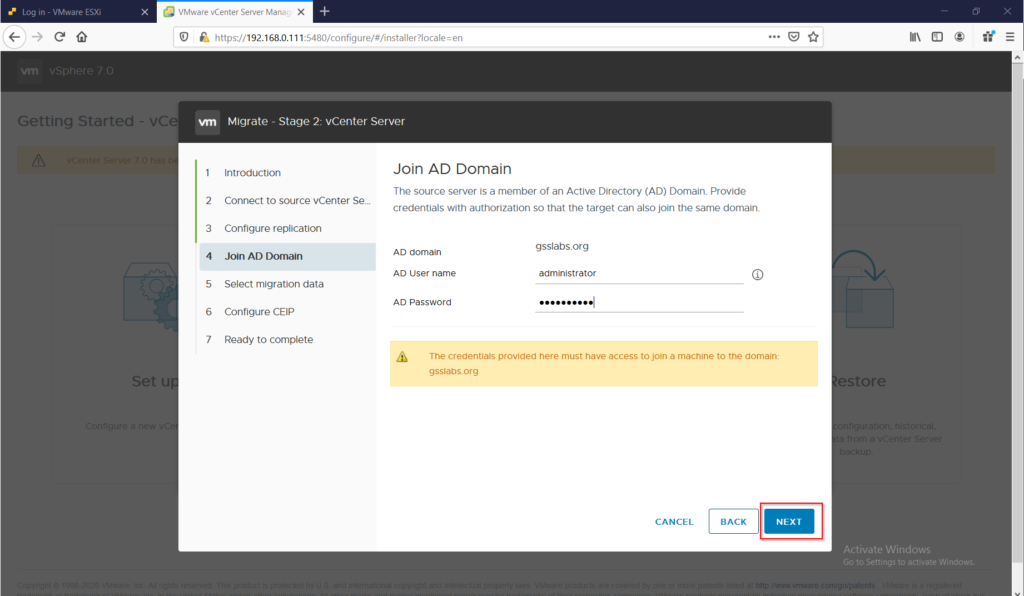
You are given option to enter the username which has privilege to add machines to the Domain
This step automatically adds vCenter appliance to the AD domain
___________________________________________________________________________________________
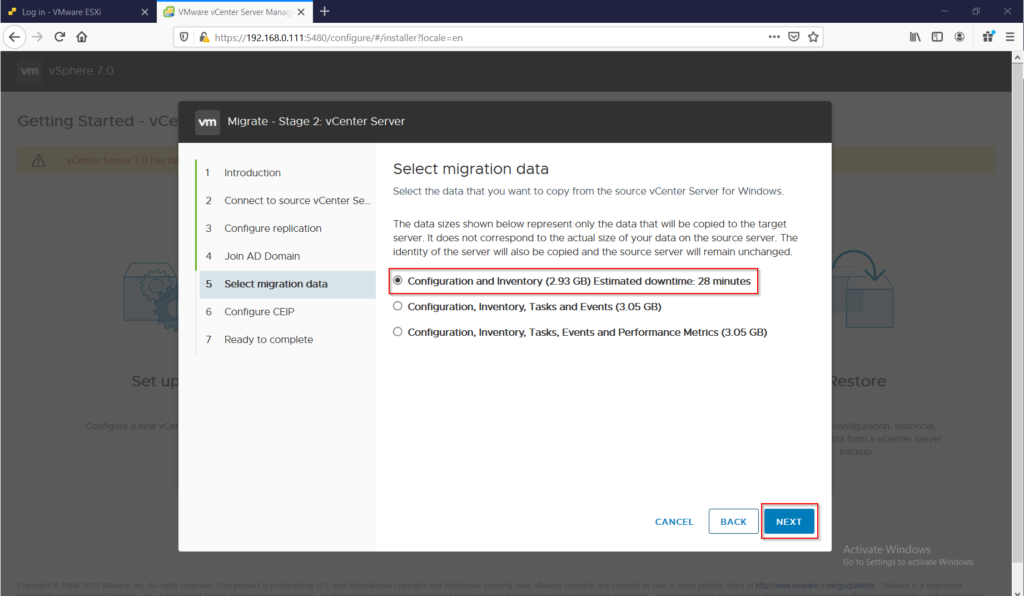
You can choose to keep tasks, events and performance charts data
You can also skip and go only with the configuration data of the source vCenter
___________________________________________________________________________________________
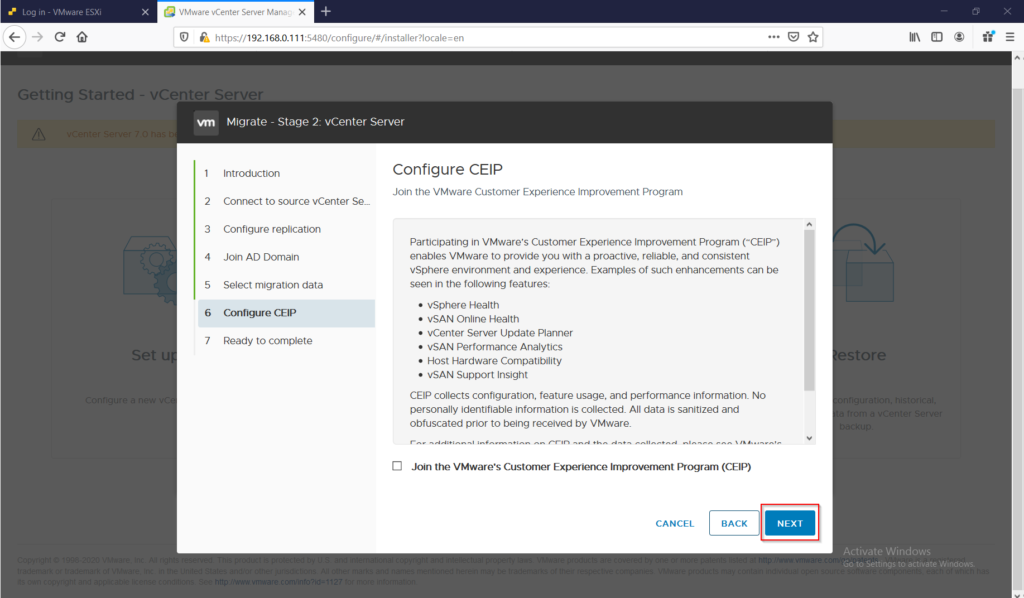
You can check this box to join VMware customer experience improvement program
Click “Next” to continue
___________________________________________________________________________________________

You are given options to validate your inputs
You have to check the “I have backed up…” to continue
If all the entered data is correct, start the final step by clicking on “Finish”
___________________________________________________________________________________________
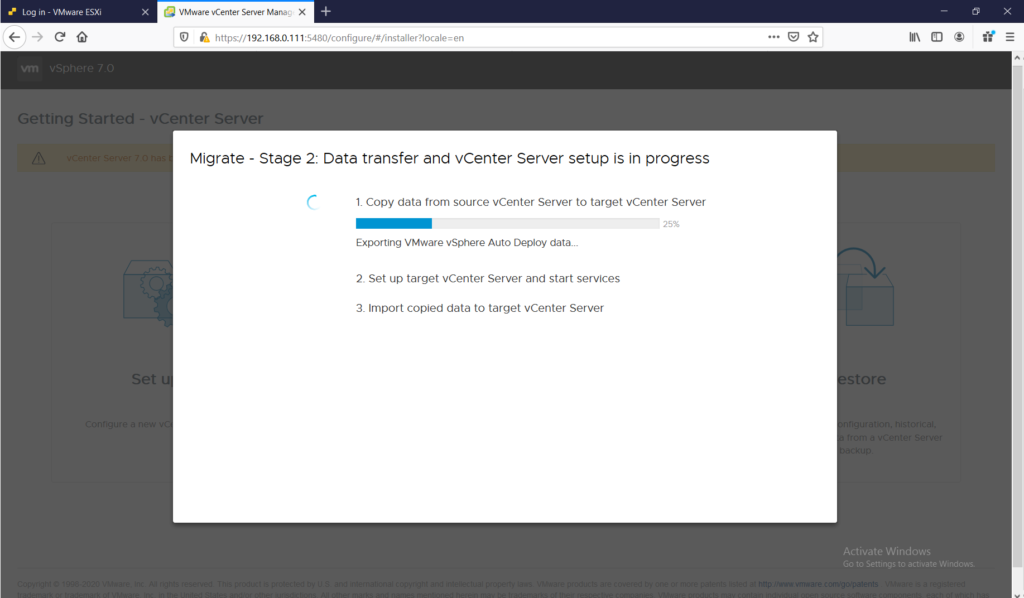
Stage 2 starts and it will power off the source vCenter
The new vCenter 7.0 VM will take the same IP as the source and the temporary IP will be deleted
Once complete you will see installation successful 100% complete.
___________________________________________________________________________________________
This marks the end of Stage 2 and completion of the migration process
Additional Notes:
- Only the source windows vCenter is only powered off
- If you notice the source PSC is still powered on
- Also if you check the replication partner, you will still see the source PSC registered with the new vCenter 7.0 appliance
- This is kept so that customers can continue the migrate paths for other vCenter which are connected to the same PSC
- Once the entire environment is migrated, you can decommission the source windows PSC following this link
– Jonathan


More Stories
Can you manually create a vDS after VCF deployment ?